Processors have matured to a point where you don’t need to spend a fortune to get the best CPU for gaming. High core counts are common, and both AMD and Intel are making respectable IPC improvements with every generation.
However, before you go out and buy a new processor, you can improve your current CPU to prolong its lifespan in several ways. Most of these methods will also work if you just bought a new CPU that isn’t performing as expected. In this performance-focused guide, we’ll focus on software optimization, thermal issues, and hardware limitations.
How to make your GPU perform better
Discover key strategies to enhance your GPU’s efficiency. Learn about overclocking, cooling solutions, and settings optimization.
Bottlenecking
A weak GPU might be the problem
When you’re putting together a new PC, it’s important that you match your CPU and GPU adequately. A poor pairing between the two can lead to worse performance and hinder either component from performing their best. If your CPU performance is not in line with what it should be, there’s a chance that your graphics card is slow and causing a CPU bottleneck.
To put it simply, pairing a weak graphics card with a strong CPU isn’t a great idea. In graphically demanding applications (such as gaming), the CPU might finish its tasks quickly but wait for the GPU to catch up. This can lead to stutters, frame drops, and poor responsiveness.
Of course, a weak graphics card isn’t the only thing that can limit CPU performance. There’s also a possibility that your PC doesn’t have enough RAM. In this case, your CPU will have to spend time and resources fetching data from storage instead.
Dual-channel memory
Finding the right RAM configuration
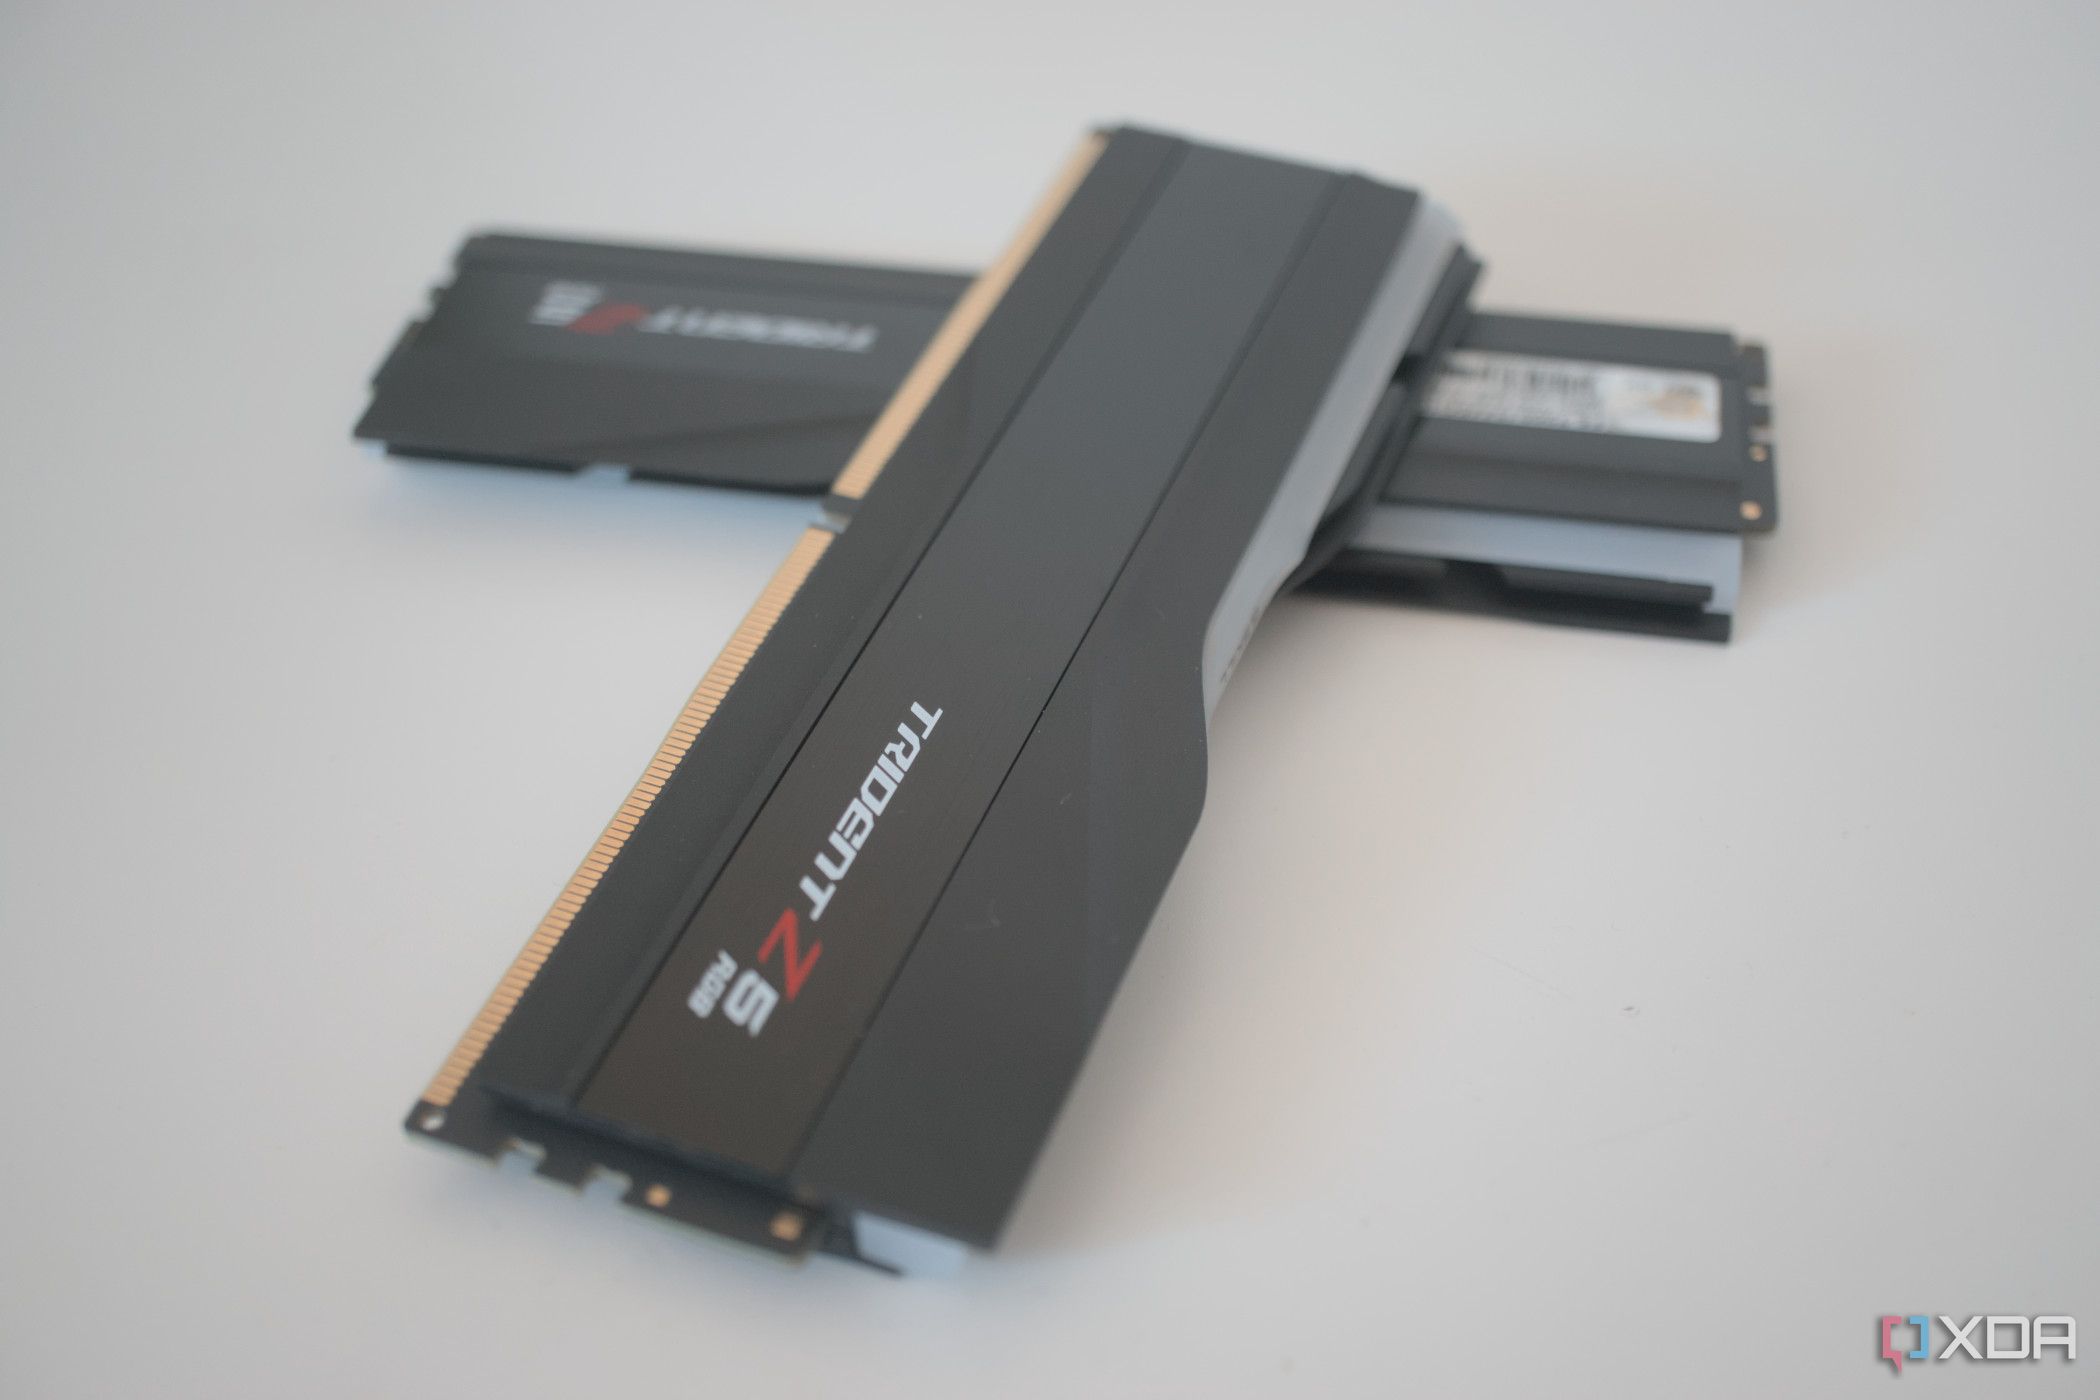
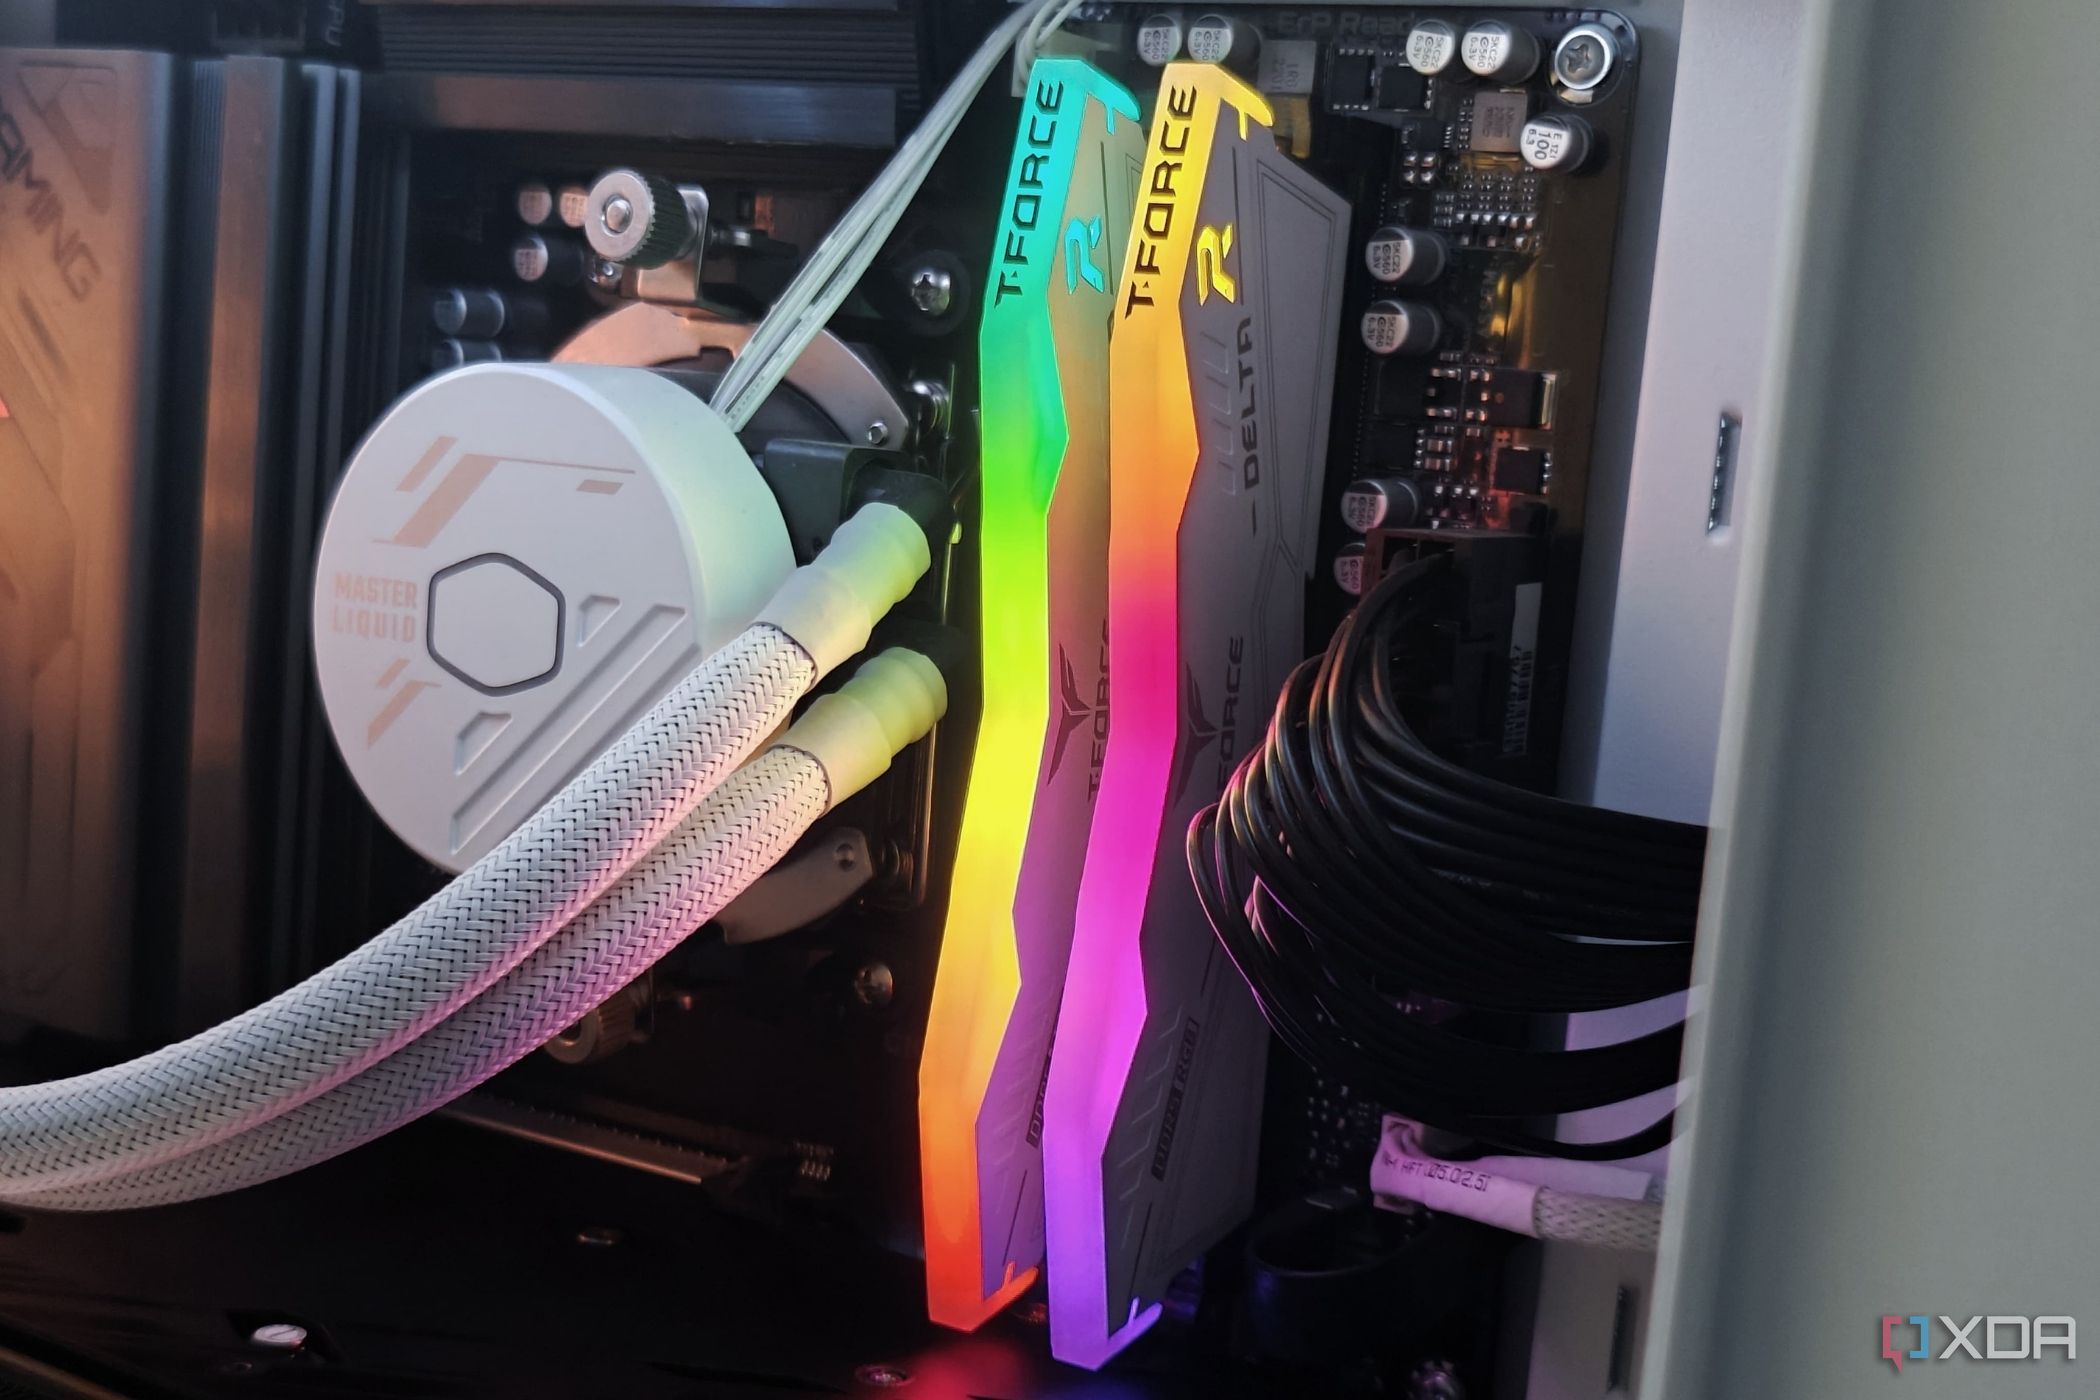
Nearly every modern CPU and motherboard supports dual-channel memory, which essentially means using two RAM sticks instead of one. For example, if your PC has two 8-gigabyte RAM sticks, your CPU can access information flowing through both memory modules or channels simultaneously. If you only have a single 8GB module, your bandwidth is essentially halved. So, a good way to improve overall system performance is to invest in a dual-channel kit.
Additionally, if you have mismatched RAM modules like a 16GB and 8GB stick, only 8 gigs of that 16GB module will work in dual-channel mode with the other 8GB module. This will still give you slightly better performance than an 8+8 configuration, but a 16+16 configuration would be remarkably better.
RAM frequency vs. latency: What matters more?
What decides how fast your RAM is? Frequency or latency?
Check your CPU temperature
And consider reapplying thermal paste
If you’re experiencing stuttering, lag, crashes, or even crashes, there’s a chance that your CPU is overheating. As a safety measure for overheating, many CPUs will throttle performance when the temperature reaches a certain point. This might be why you’re not getting the best framerates or experiencing slow rendering times in apps like Adobe Premiere.
There are plenty of ways to check CPU temperature, and if you find that your processor is overheating after doing so, it may be time to change the thermal paste.
Doing so on your CPU is relatively easy. Power off your PC, take off the side panel, and unscrew your CPU cooler to remove it from the motherboard. Clean off the old thermal paste from the CPU and the cooler, and apply the new thermal paste on top of the processor. While you’re at it, it’s a good idea to clean the CPU cooler and get rid of any dust within your PC case. If all that sounds a bit daunting to you, we have a full guide on how to properly apply thermal paste to a CPU.
After applying the new thermal paste, run a few CPU benchmarks to see if temperatures are better than before. If your processor is still overheating, it might be time to buy a new CPU cooler.
Adjust Windows power plans
Consider switching to a high-performance power plan
Windows offers multiple power settings that help balance overall performance, efficiency, and battery life. By default, most Windows systems are set to a Balanced power plan. In certain situations where maximum performance isn’t needed, this plan limits clock speeds to conserve battery life or reduce thermals. Switching over to the HighPerformance power plan could give you potentially better performance.
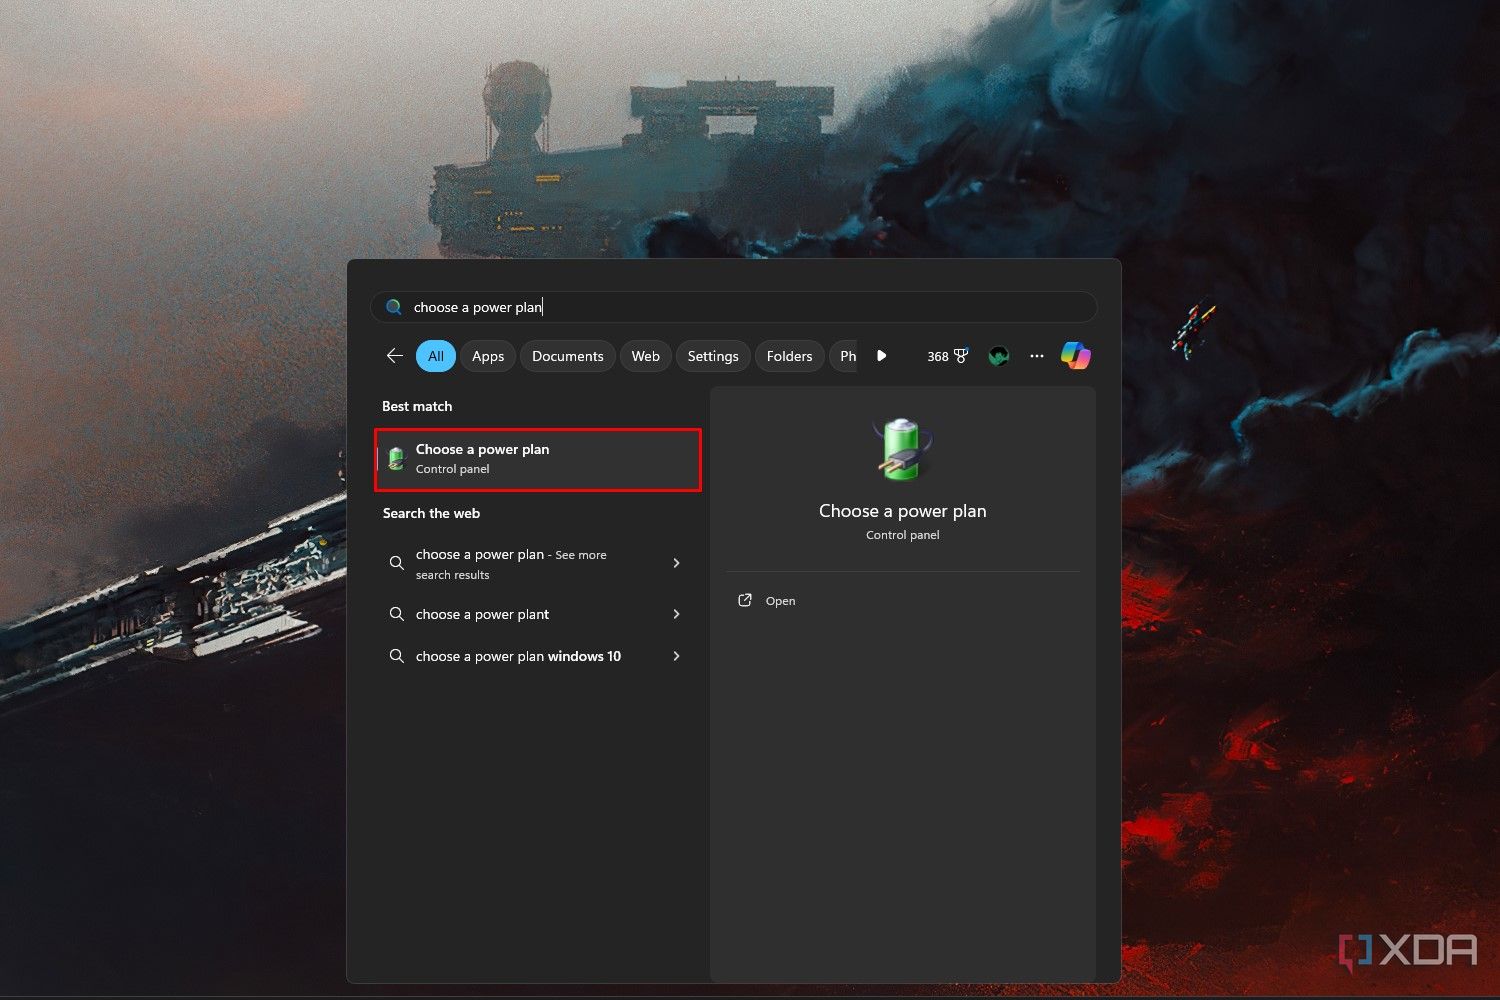
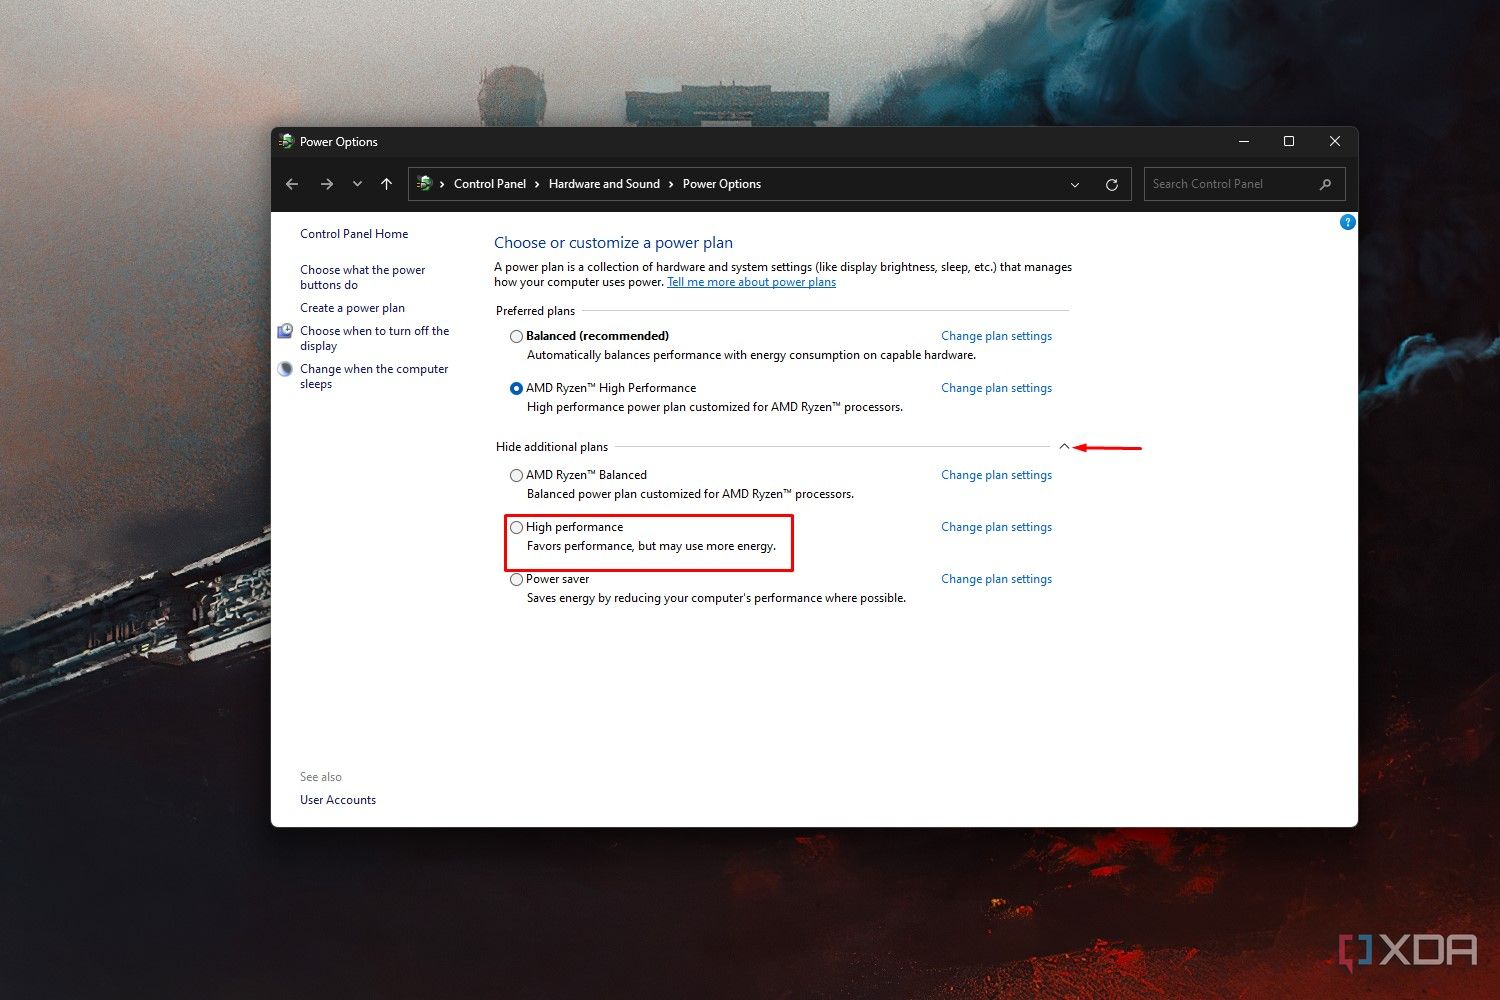
- In the start menu, type Choose a power plan into the search box. Click the first result that pops up.
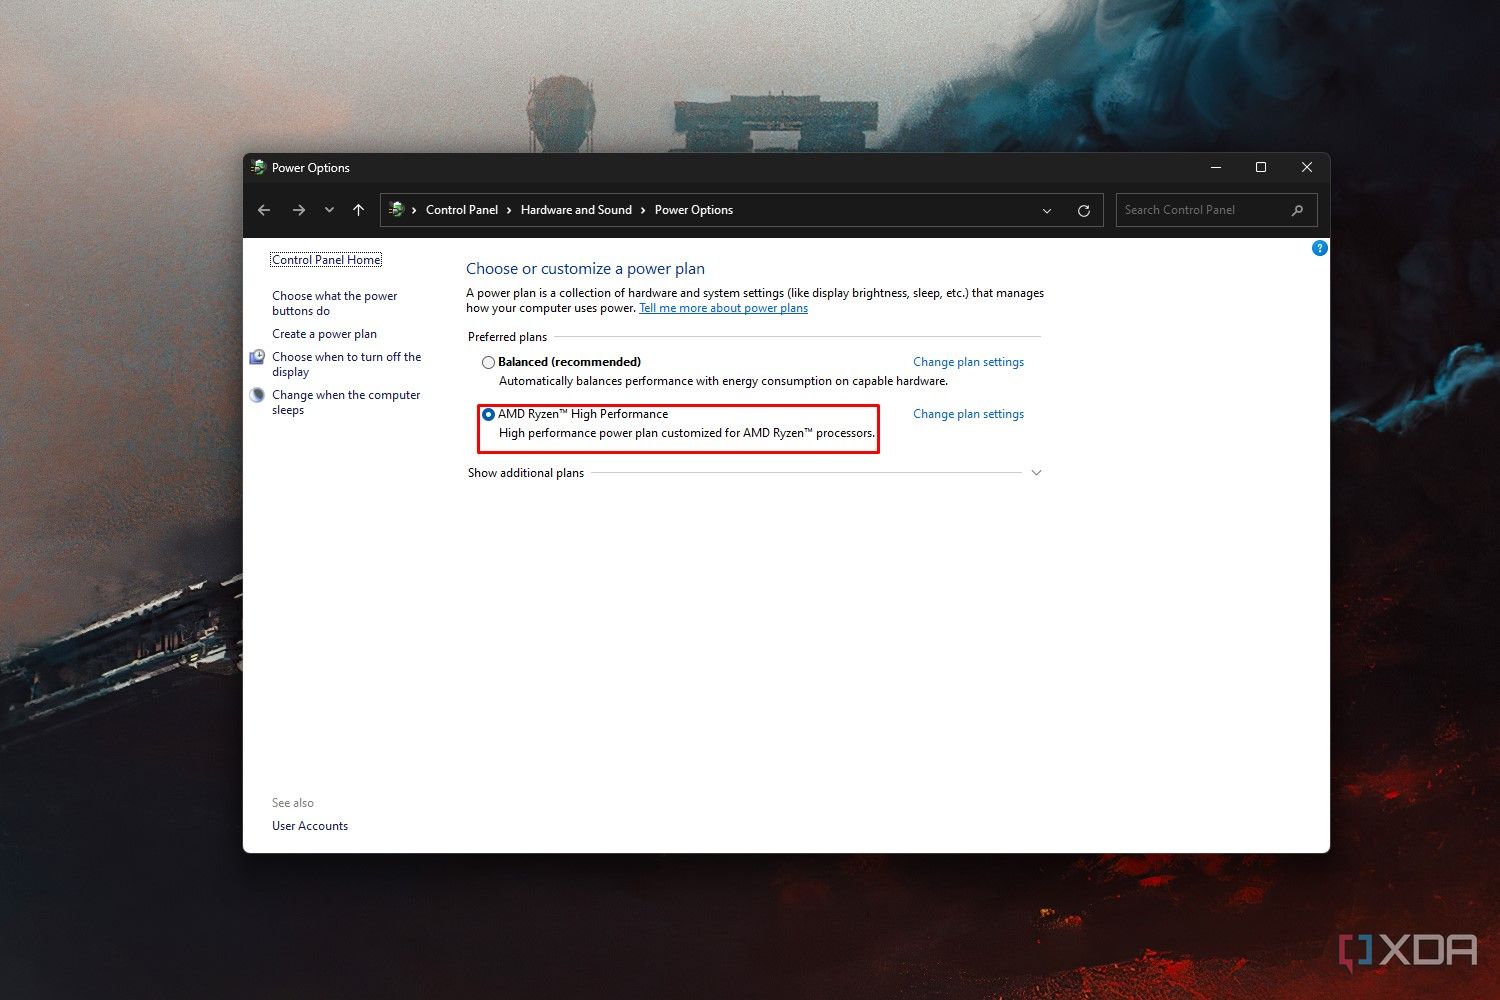
- From the Power Options window select any one of the High Performance power plans. If you’re using a Ryzen CPU, it may be titled AMD Ryzen High Performance.
- If you can’t find a High Performance power plan, click Show additional plans, and choose the option from here.
- Close the window.
The High Performance plans prioritize maximum performance at all times. This can lead to potentially higher clock speeds but with the caveat of increased power consumption and heat generation. If you’re using a laptop, just know that it can worsen battery life.
Disable startup and background apps
Freeing up system resources
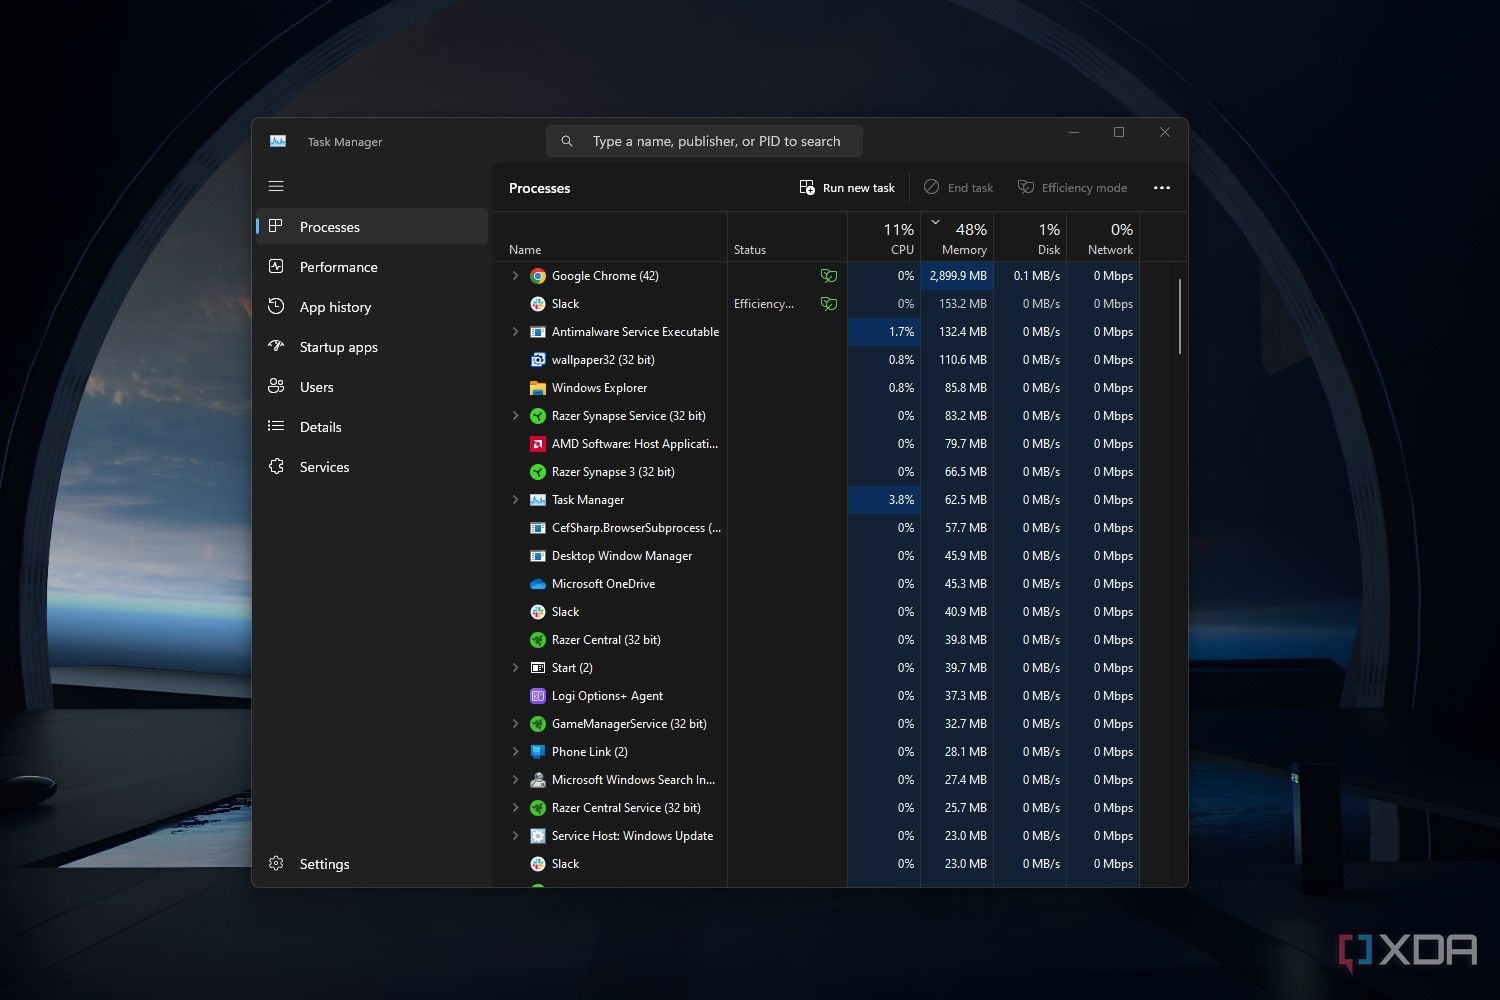
If you’ve noticed that your computer has gotten slower over time, it might be due to installing more programs. Fortunately, you don’t need to uninstall your programs to improve performance, as just closing them will usually lead to a snappier system. Whenever you’re gaming or using a CPU-intensive application, close any apps running in the background from the system tray.
A good way of avoiding unnecessary apps from running in the background is to stop them from launching when your computer starts. Many programs launch as soon you turn on your PC by default, and you might never notice these programs running in the background unless you view the system tray or check task manager.
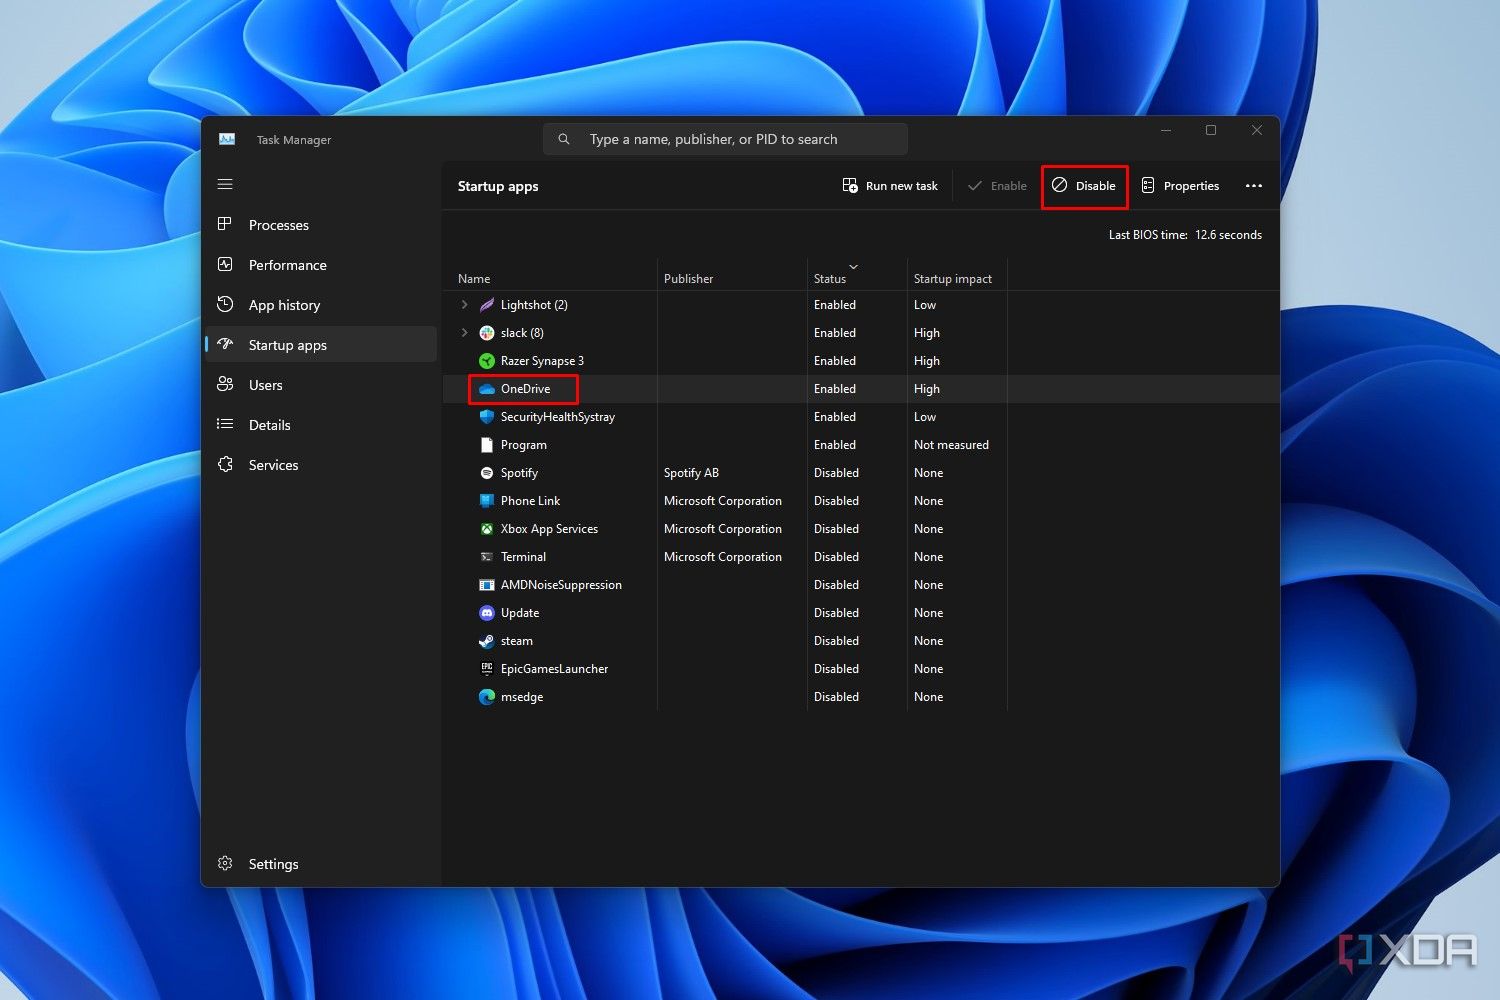
Follow these steps to turn off startup tasks in Windows 11:
- Press the Ctrl + Shift + Esc keys on your keyboard to launch Task Manager.
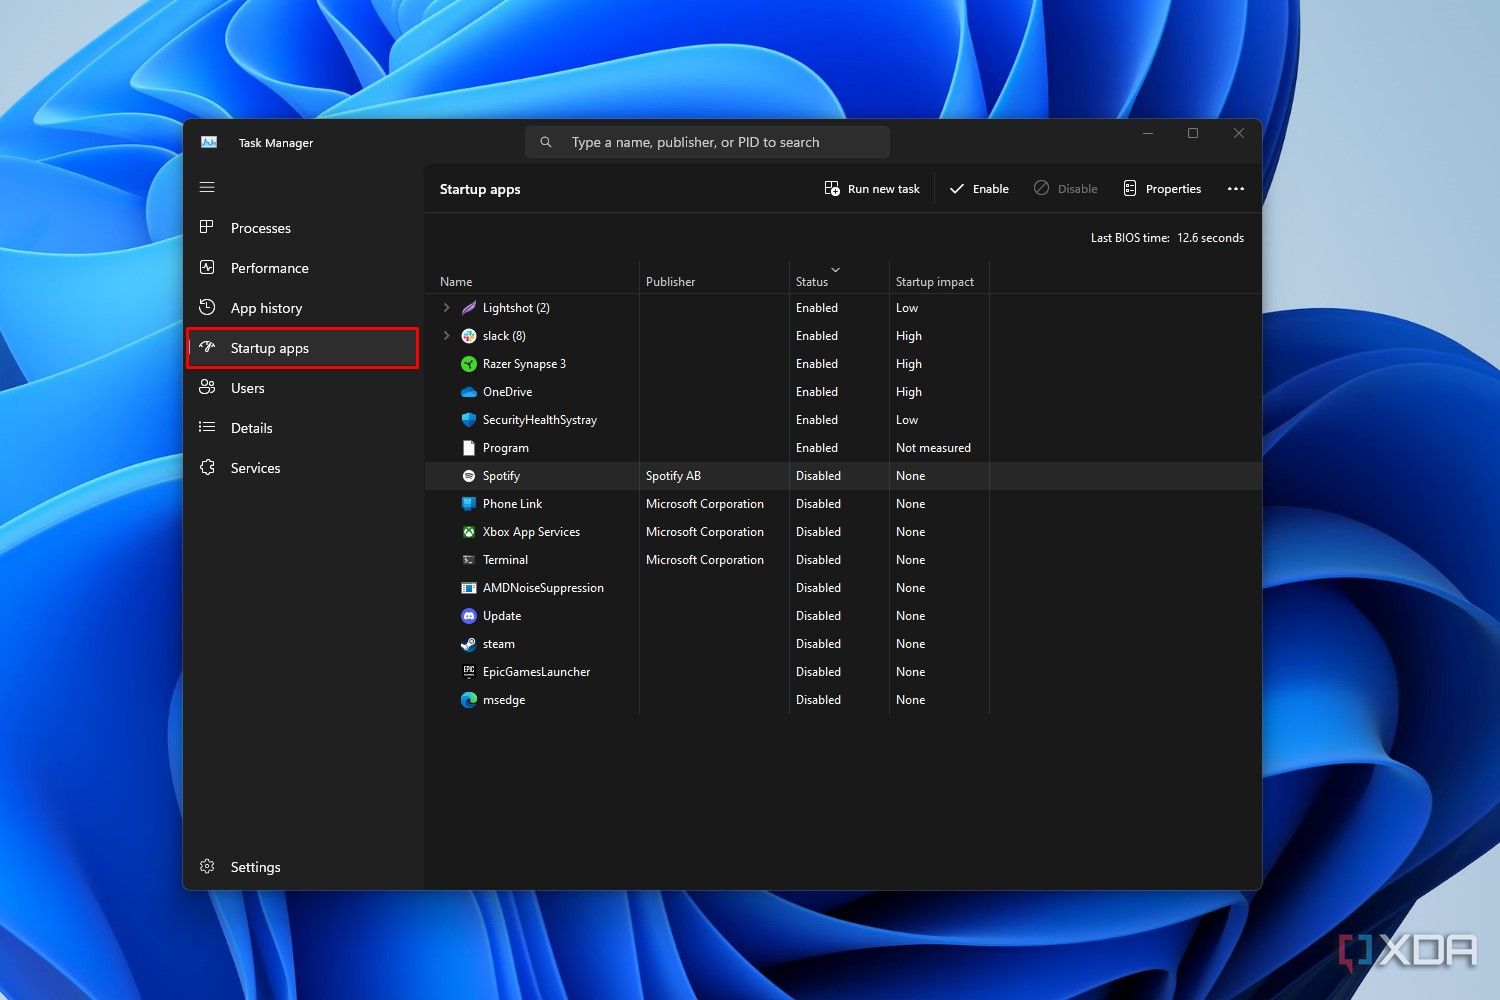
- Click Startupapps from the menu on the left side.
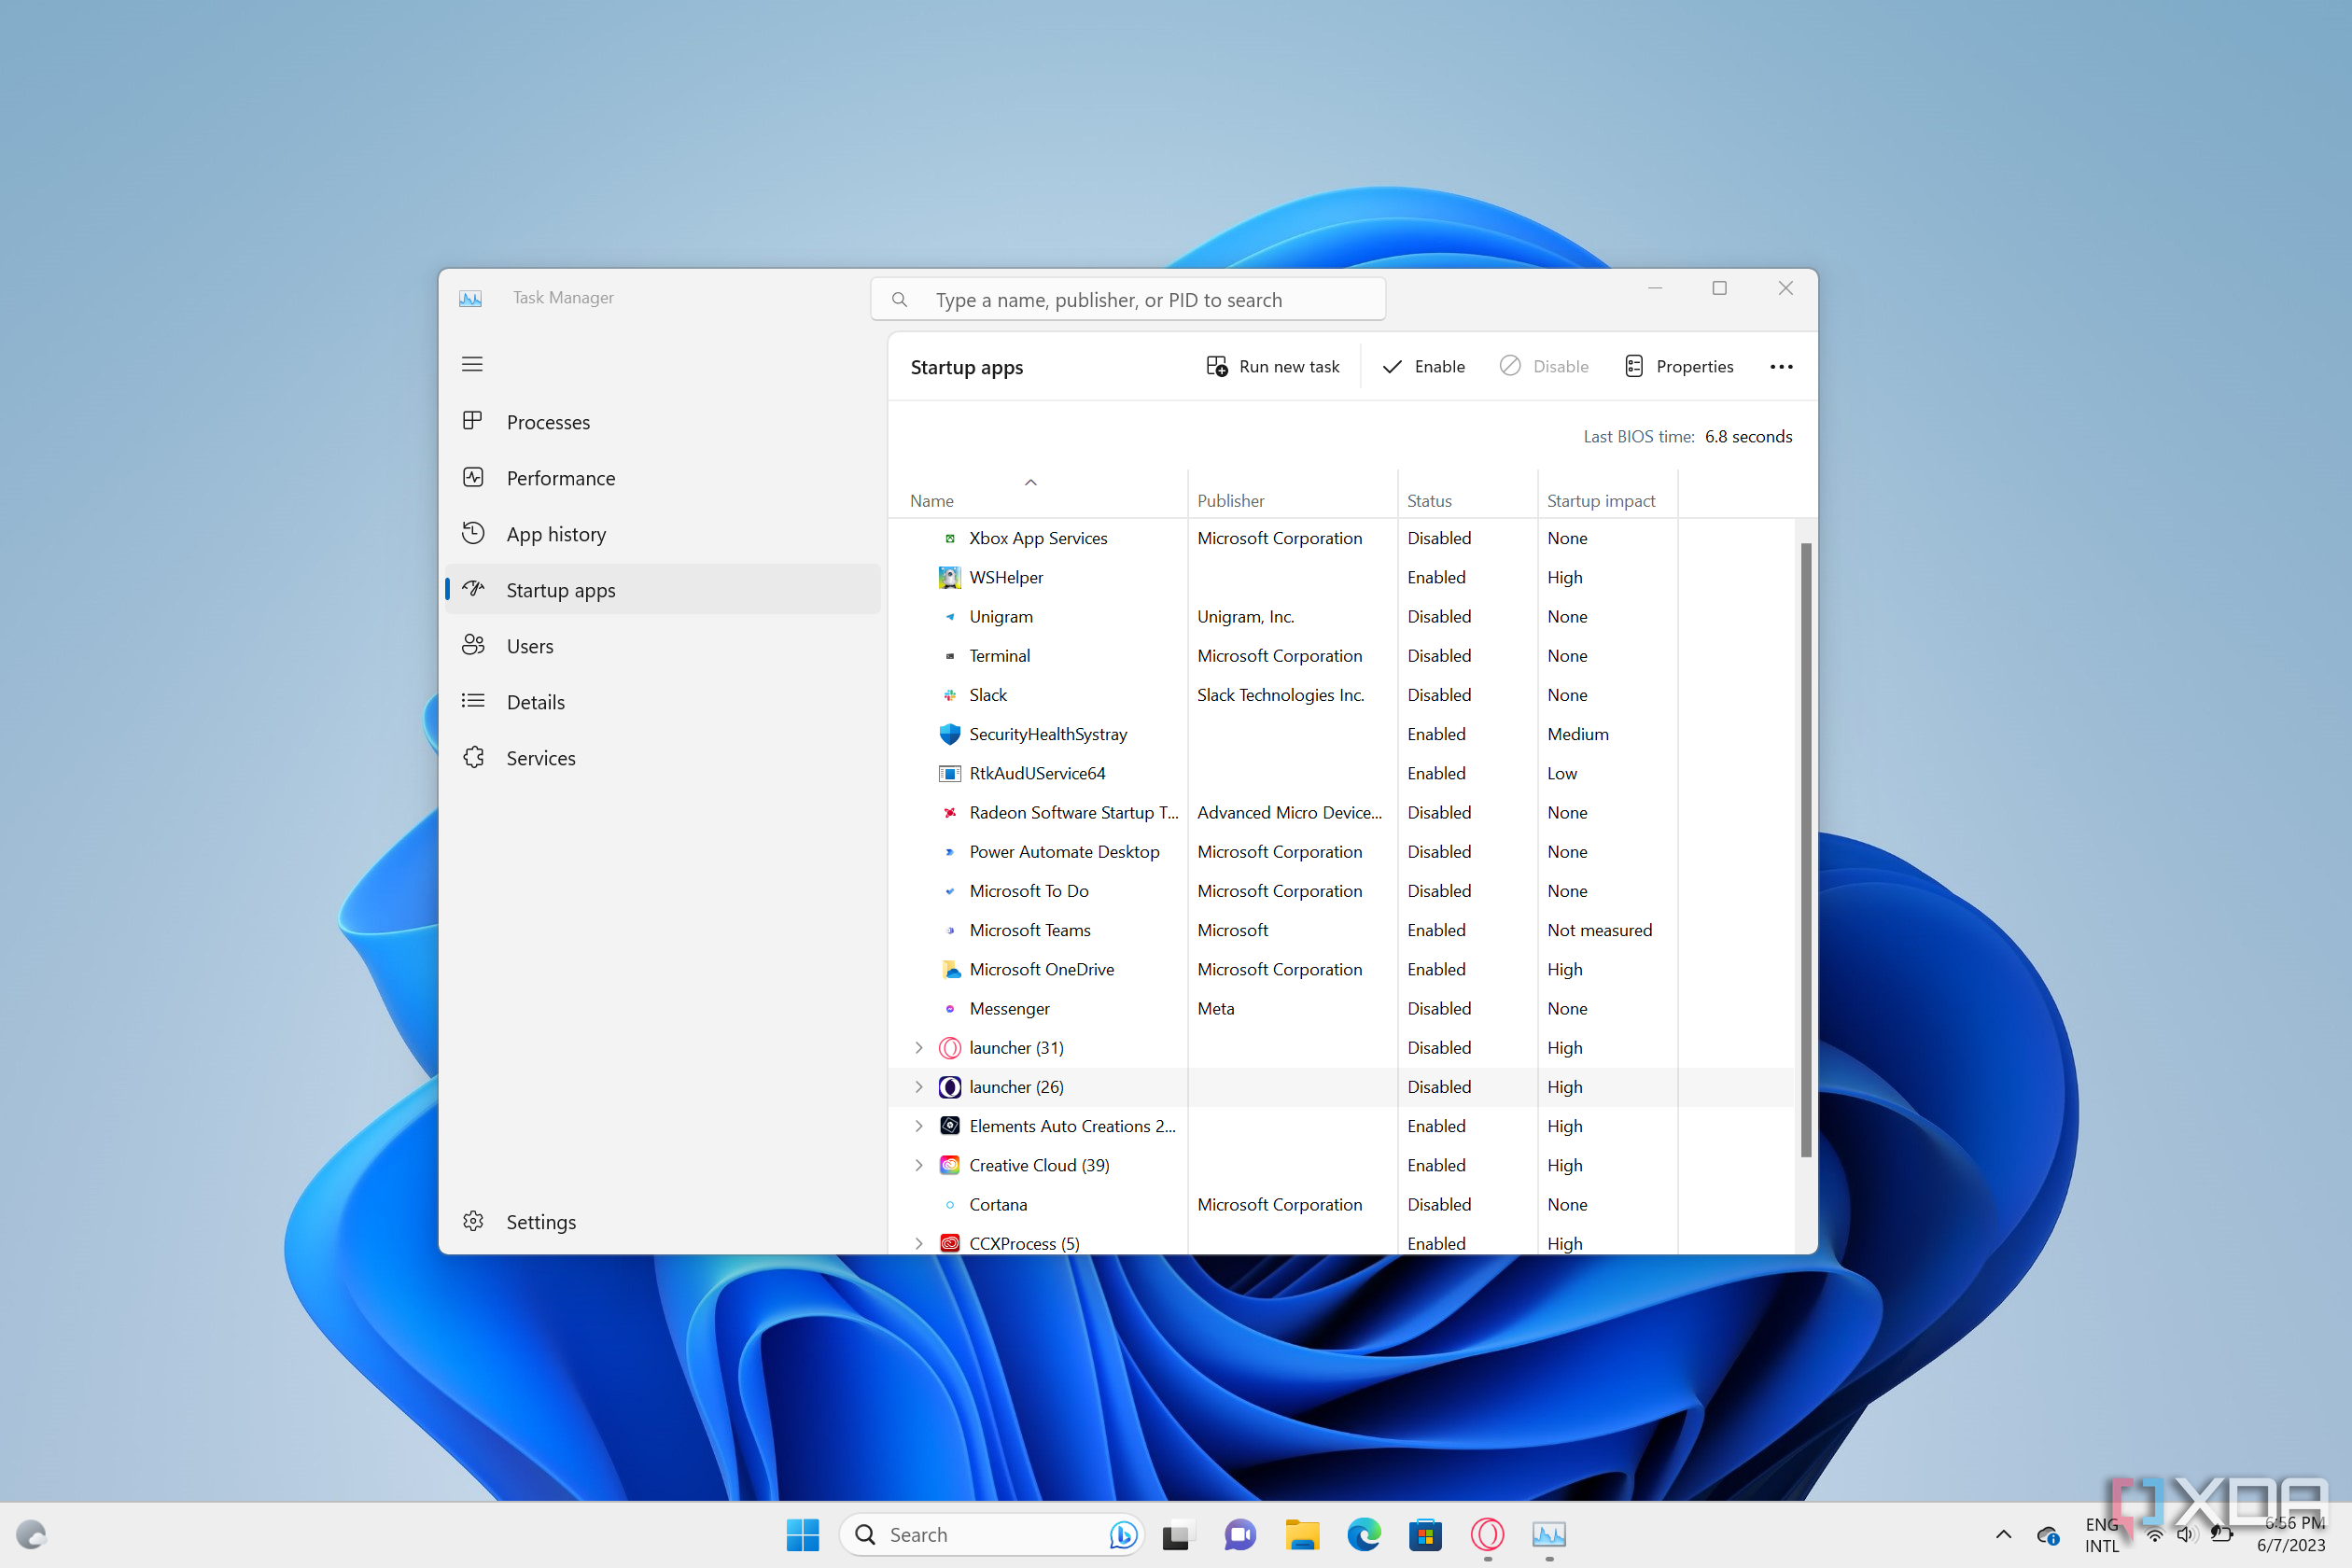
- You’ll now see a list of all your startup tasks. This window will tell you which apps are enabled to launch at startup, and how much impact they have in terms of resources used.
- Look for any tasks that aren’t useful to you. Click the task in question to select it.
- Click Disable in the menu bar at the top of the window.
- Do the same for any other startup tasks that you want to disable.
Disabling certain startup tasks will mean that your PC boots up faster. This will be especially noticeable on older machines with slow hard drives. When you have fewer apps running in the background, you’ll free up CPU cycles, memory, and other resources that can be used for the application you’re actively using.
Overclocking
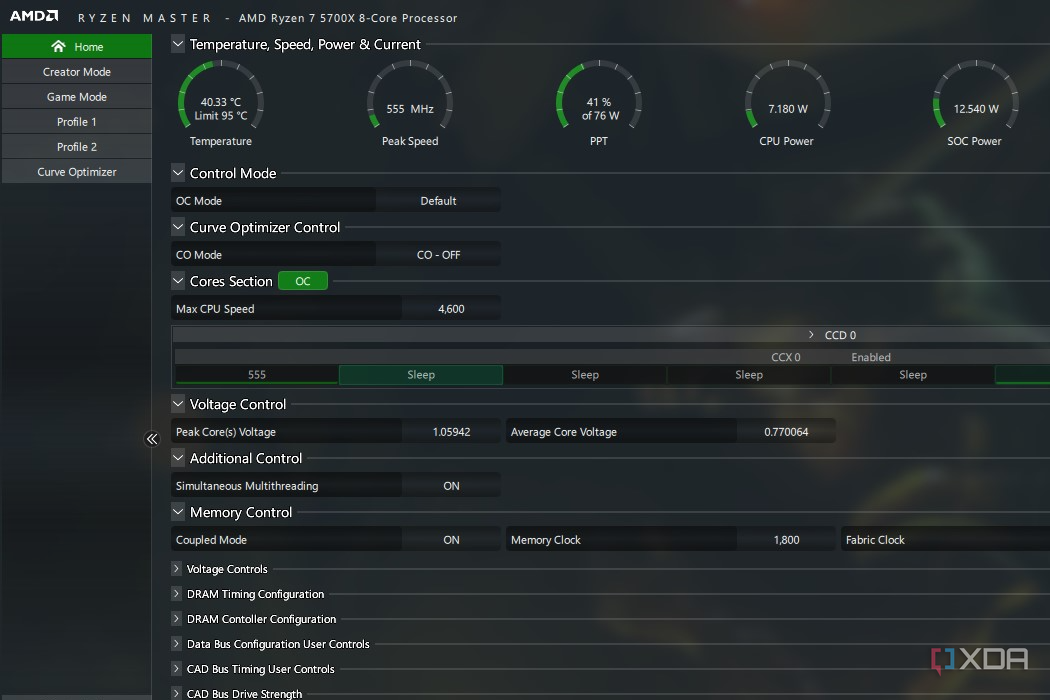
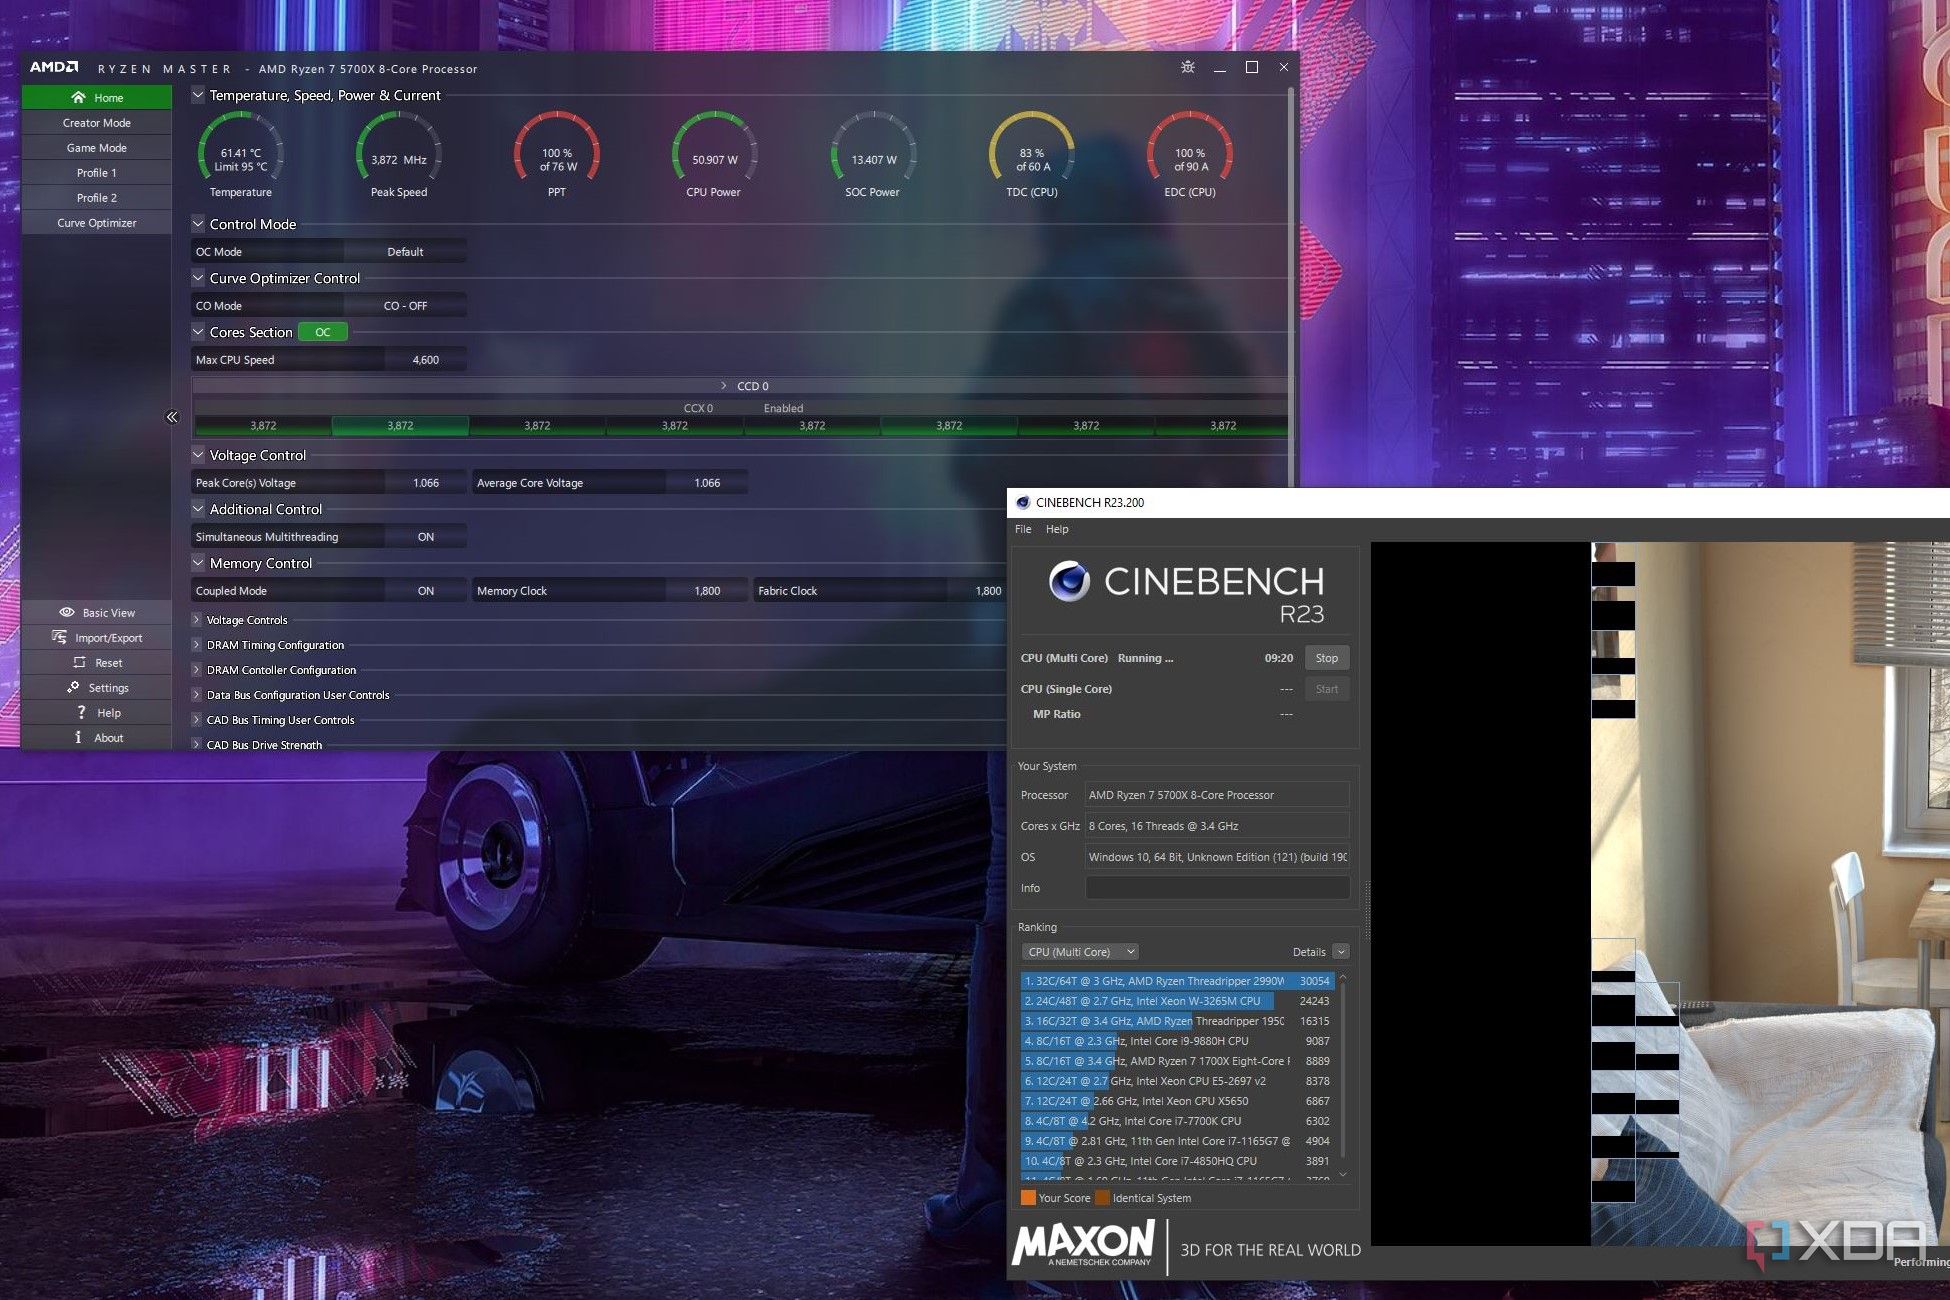
Let’s say that your thermals are optimal, background tasks aren’t affecting your performance, and your components are perfectly matched. If you still want to squeeze more performance out of your system, consider overclocking your CPU. Overclocking a CPU essentially means pushing its performance beyond factory settings. This is usually done by increasing the CPU multiplier to improve clock speeds, while also at times increasing the voltage for better stability.
Many people regard overclocking as dangerous, but if you stick with simple utility tools that are available for free, it can be done in a very safe manner. Just keep in mind that for a meaningful and stable overclock, you need adequate cooling, a motherboard with good VRMs, and a bit of technical know-how.
Maximizing CPU performance
While all the tips and fixes discussed in this guide are great, keep in mind that small things matter just as much. Cleaning your PC frequently, keeping everything updated, and checking temperatures every once in a while can prolong your computer’s lifespan and keep performance in check. If you want an even more optimized experience, there are certain things you can do with Windows rather than your hardware to improve gaming performance.
How to optimize Windows 11 for gaming
PC gamers on Windows 11, take note.
