

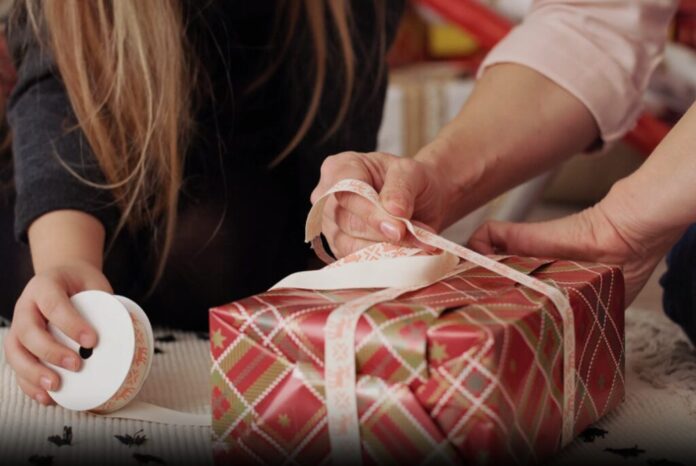
Making your own birthday gift box is a great idea. It’s simple and doesn’t cost much. You can use heavy paper, fabric, or festive cards to create it. Your gift will look special, and the recipient will appreciate it.
Creating a homemade birthday surprise box involves the use of one to four different paper patterns, allowing you to give each side of the box a distinct color or design. You have the creative freedom to mix and match these patterns to fit the occasion.
Whether it’s celebrating a birthday, an upcoming special event, or simply surprising someone special, this personalized box is an excellent way to present a thoughtful gift. It’s a fun way to present a thoughtful gift, even for the foodie in your life.
Step 1: Building Your Birthday Surprise Box
Begin with a piece of paper or cardstock. Here’s how you can create the base of your birthday surprise box;
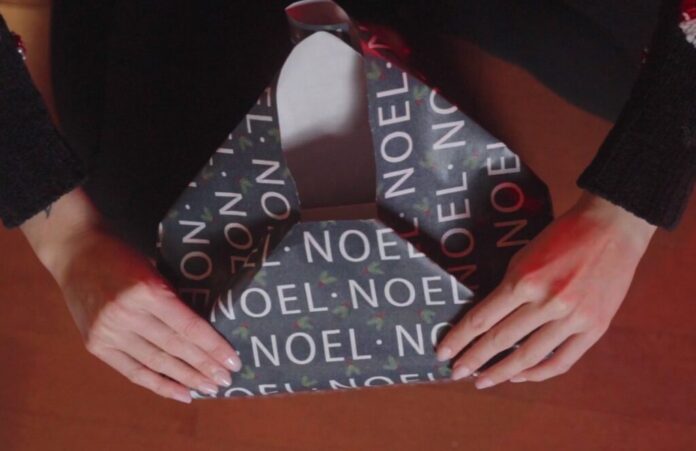
- Take your paper and mark it at 15 cm and 30 cm on each side.
- Connect these marks to form a heart shape at each corner by drawing half on one side and the other on the adjacent side.
- Fold the sides along the intersecting lines to create a square shape with hearts on the outside.
- Gently fold the hearts along the center scorelines for a 3D effect.
Congratulations! You’ve crafted a beautifully designed paper with heart-shaped corners that can be used for various creative projects like cards, decorations, or crafts. These heart patterns will infuse your creations with love and charm.
Step 2: Creating Birthday Surprise Box Levels
Now that you have the outer layer of your birthday surprise box, it’s time to add inner layers for that burst box effect. Follow these steps to create multiple layers within your box;
- Make each inner layer slightly smaller than the one above it. For instance, if your outer layer was 30 cm, the next layer could be 28.5 cm, and so on. You can customize these sizes according to your preference.
- Ensure that each layer follows the same 9-part design like the outer layer. Adjust the measurements accordingly for each inner layer.
- After assembling the layers, you can start decorating. Gather photos, keepsakes, and anything special you want to include inside your box. To protect original prints, consider scanning or printing digital photos onto sturdy paper.
- Attach these items inside the flaps of your box’s inner layers. This way, when the recipient opens each layer, they’ll find surprises, heartfelt messages, or small gifts.
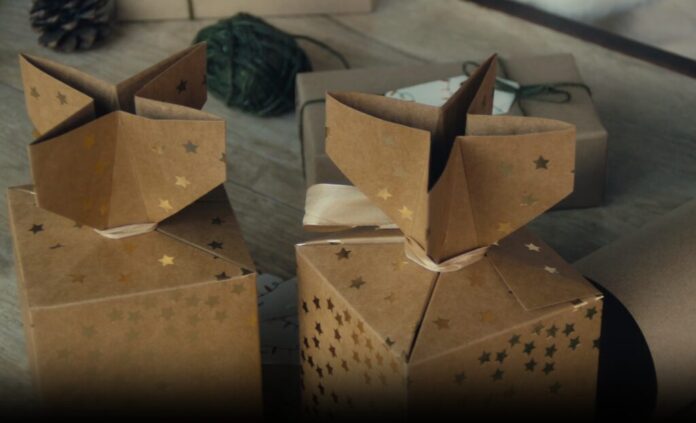
Step 3: Crafting the Birthday Surprise Box Lid
To complete your surprise box, you’ll need a lid. Here’s how to create the lid for your box;
- Start with a square piece of paper or cardstock.
- Measure 4 cm from each edge and lightly mark lines on all four sides.
- Score the paper along these lines to facilitate clean folding.
- Cut along the marked lines on all four sides.
- Gently fold the paper along these scored lines. As you fold, you’ll notice the paper naturally takes on the shape of a smaller square within the larger one.
- Make a straight incision in each corner of the paper, starting from the outer edge and extending towards the intersection of the scored lines. This will create flaps in each corner.
- Use adhesive material like double-sided tape or glue to attach the flaps you’ve created. These flaps will serve as the means to connect the sides of the box.
- Carefully fold the sides of the paper upwards, bringing them together to create a square configuration. Press the flaps in the corners against the adjacent sides and secure them using the adhesive.
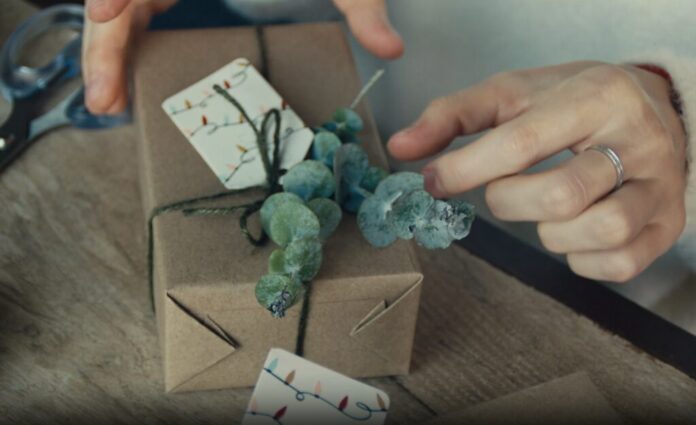
Now that you’ve constructed the lid, it’s your chance to let your creativity shine. Decorate the box’s exterior and interior with an array of elements, such as vibrant paper, decorative add-ons, stickers, photos, or any other embellishments. You can incorporate a special message, a particular theme, or images that align with the occasion for which the box is intended.
Beyond the structural steps, let’s delve into the personalization aspects and additional creative touches you can add to make your birthday surprise box truly extraordinary.
Birthday Surprise Box Personalization and Creative Touches
Special Messages: Along with photos and keepsakes, consider adding special messages or notes inside each layer. These personalized touches add emotional value to your gift, making it a cherished keepsake.
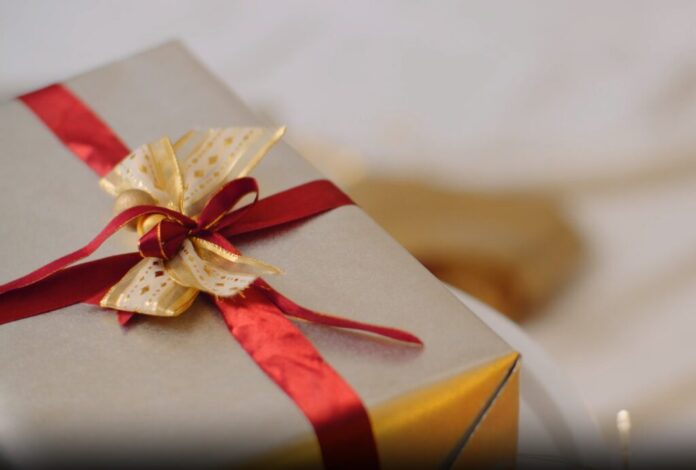
Decorative Embellishments: Elevate the visual appeal of your box by adding decorative embellishments. Whether it’s ribbons, bows, or themed stickers, these small details can make a big difference in the overall aesthetic.
Themed Decor: Tailor the decorations to suit the occasion. For instance, if it’s a birthday, incorporate elements like balloons, party hats, or confetti. For an anniversary, choose decorations that reflect the couple’s journey together.
Incorporate Scents: Consider adding a subtle fragrance to your box, perhaps by placing a scented sachet or using scented paper. This adds a sensory dimension to your gift, enhancing the overall experience.
Interactive Elements: Introduce elements that engage the senses, such as textured paper or small tactile surprises. These details make the unwrapping experience more interactive and memorable.
The Versatility of Surprise Boxes
The beauty of burst boxes lies in their versatility. They can be adapted for various occasions and celebrations. Beyond birthdays, consider crafting surprise boxes for anniversaries, weddings, baby showers, or any momentous event. Each box can tell a unique story, capturing the essence of the occasion it celebrates.
Sharing Your Birthday Surprise Box Creations
As you embark on your journey of crafting birthday surprise boxes, don’t forget to share your creations with others. Your unique ideas and innovative touches can inspire fellow crafters and spread the joy of thoughtful gifting. Consider documenting your process through photos or even creating a tutorial to guide others in crafting their special boxes.
Conclusion
The process of making a birthday surprise box extends beyond the physical creation. It’s an opportunity to infuse your creativity, personality, and love into a tangible gift. The extra touches and personalization transform your box into a work of art that goes beyond the ordinary. As you share your creations and ideas, you contribute to a community of thoughtful gift-givers, making every celebration a little more special. Happy crafting!